Mon, Nov 5, 2018
Article may contain affiliate links. As an Amazon Associate I earn from qualifying purchases.
As with any project, there is a little prep work needed before you can install tile in your home. Good planning is essential when laying tile. Use water-resistant backer board and have a clean subfloor—a floor that is level, free of bumps and completely plumb.
Prep work also involves measuring the area correctly and ordering the right amount of tile—which is something your tile supplier can help you with.
The amount of time you’ll need to finish this task depends largely on the size of the room. Plan on a half-day for a small room—like a bathroom, and longer if this is your first time.
Remember that you want to give your adhesive time to try before moving on to other steps.
Materials and Tools You’ll Need to Install Tile in Your Home:
| Tiles or Tile sheets | Tile adhesive | Cement board |
| Wet saw | Square-notched trowel | Tile nippers | Utility knife |
| Tape measure | Spacers | Sponge |
Step One: Lay out the tiles first to have an exact idea of how they’ll appear. The space between the tiles should be uniform.
If your tiles don’t come on mesh sheets, use spacers.
Keep in mind, the larger the tile, the larger the space should be between them. You need surface area for the grout to bond well, otherwise you may have problems with it later.
Step Two: To cut the tile, measure to desired size by drawing the right dimensions with a felt-tip marker. Cut the tile using a tile cutter using a firm but even pressure.
It’s only necessary to make one pass with the cutter. Then, nap the excess tile off.
If you haven’t used a tile cutter before, you may want to practice with one or two extra tiles before you begin this step.
Step Three: To begin tile work, start at the outside edge of one quadrant, working from top to bottom, one row at a time. Measure at least twice with a tape measure to make sure tiles are uniform.
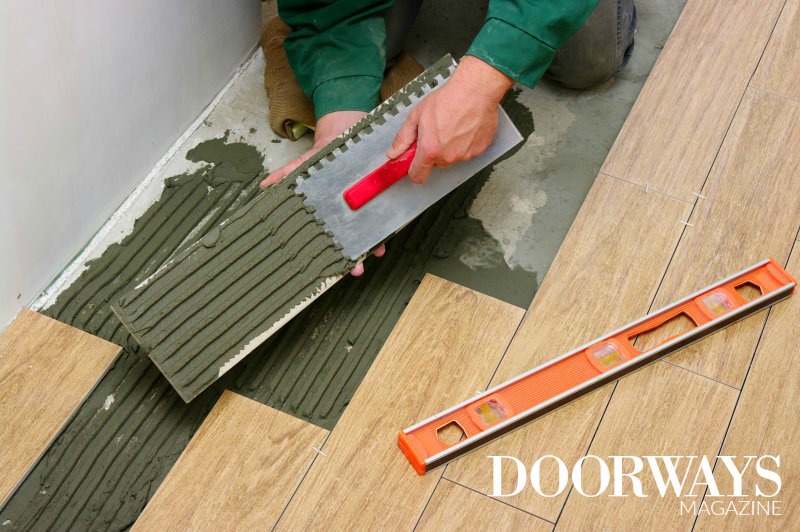
Notes: You want to use waterproof adhesive for the tiles, especially if you are tiling a bathroom or kitchen. Premixed mortar mixes work well. It takes some skill to make sure the tiles are lying flat after applying adhesive.
Spread the adhesive smoothly with a square-notched trowel, and be sure to set each tile with a slight twist so the adhesive spreads. Always begin at the center of the surface, working out to the perimeter.
Adhere to drying times specified on the container and allow to completely dry before you start the grout work.
Step Four: When applying grout, spread it evenly, and be sure you get it into the joints by using a blunt stick or a similar tool.
Keep in mind that white grout is often difficult to clean, so select the color carefully. Even after applying a grout sealer, white grout can be hard to clean.
Step Five: It’s important to clean the tiles with a wet sponge before they dry. It may take several swipes over the period of an hour to get the tile clean. It is not an easy task to remove dried grout from the tiles or its indentations, so be methodical about this.
Step Six: Lastly, apply a grout sealer according to the manufacturer’s directions.
Congrats! You’ve just installed tile in your kitchen or bathroom. Easy right? If you have any questions about the steps in the process, please leave a comment.

READ NEXT